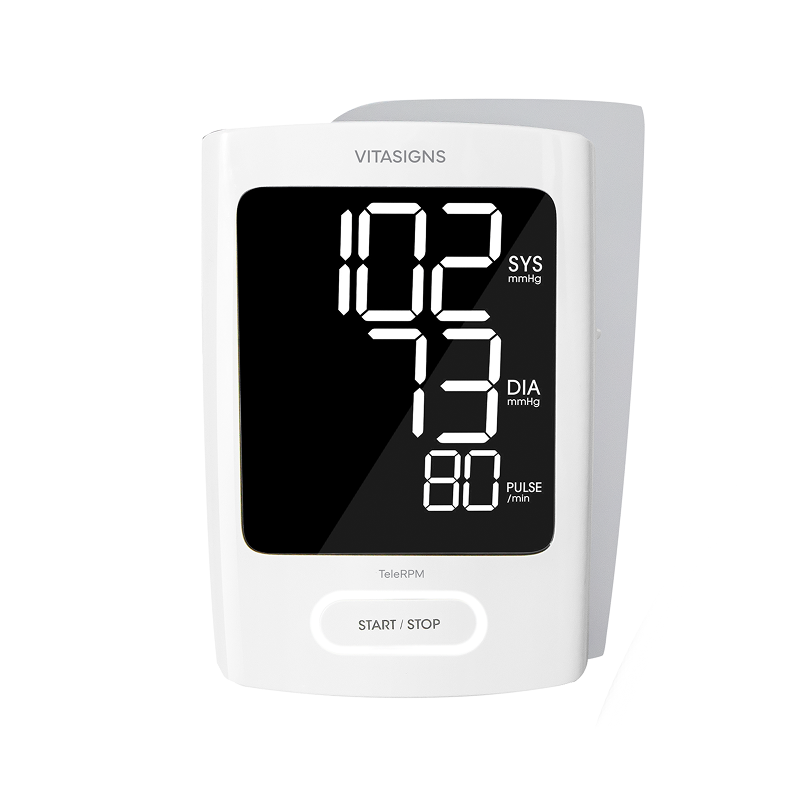
.jpg?width=2000&name=Vitasigns%20(1).jpg)
STEP 1
Remove the device from the box.

STEP 2
Remove the plastic tab from battery compartment on the bottom of the
blood pressure monitor
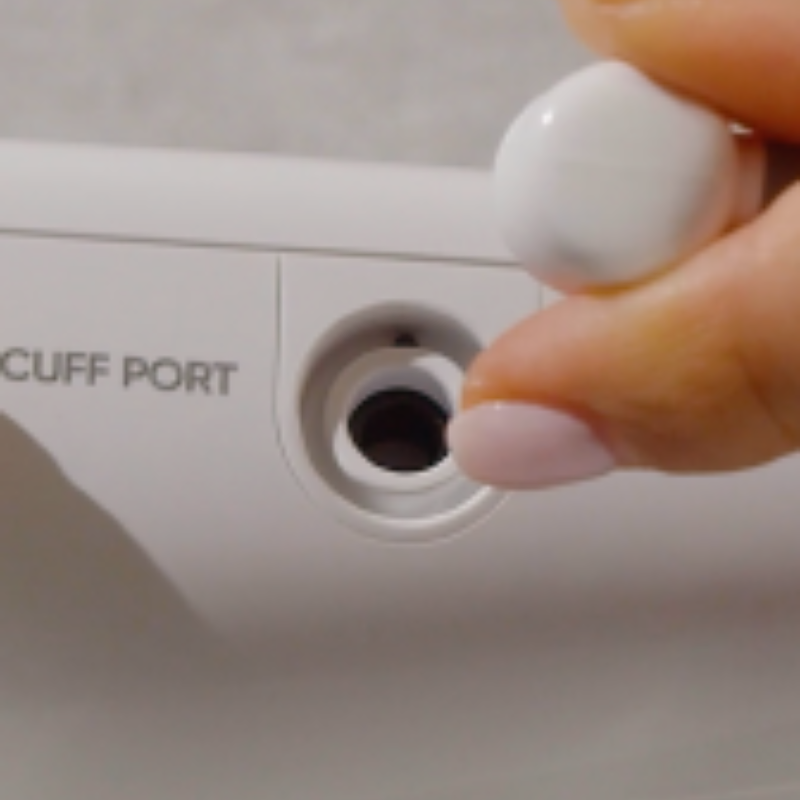
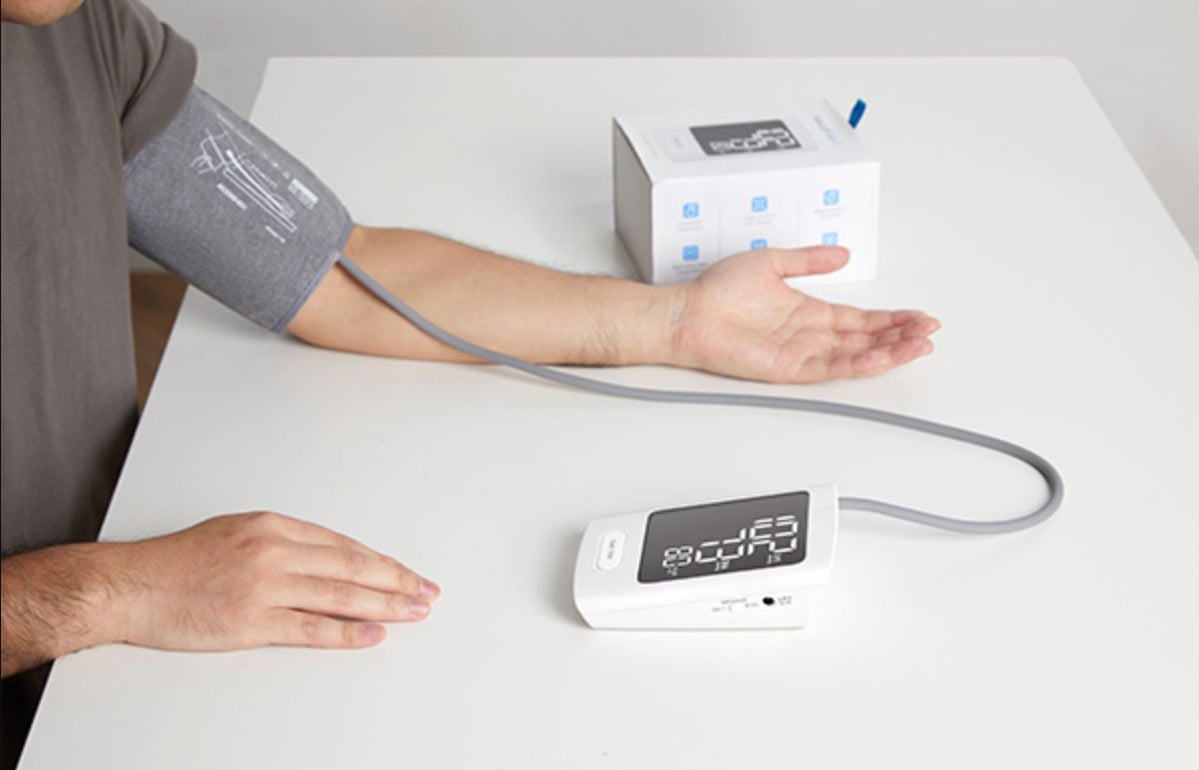
STEP 3
Connect the cuff to the left side of the blood pressure monitor where it reads cuff port.
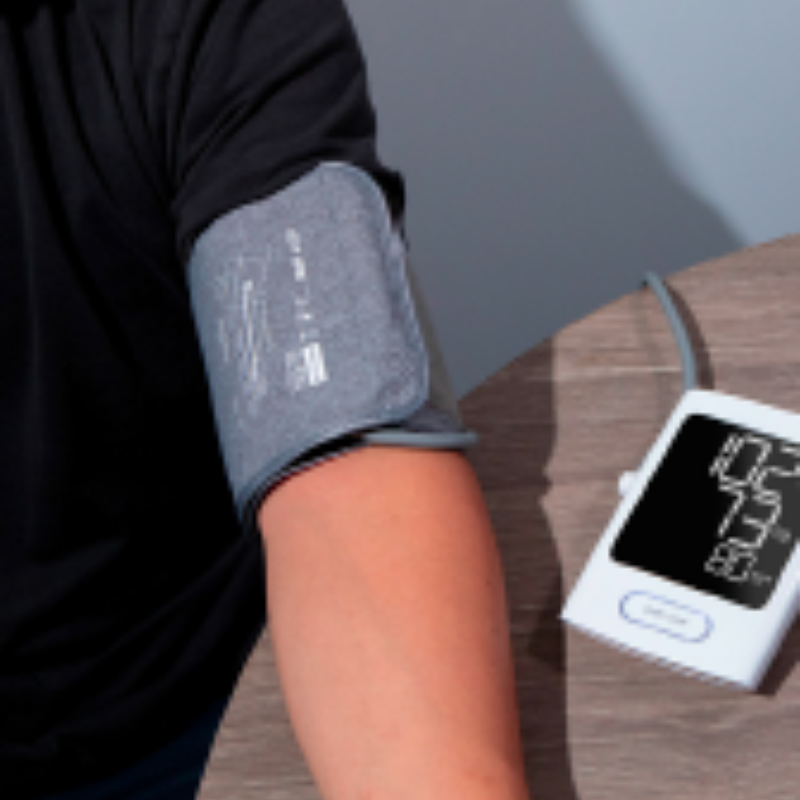
STEP 4
Make sure to have both of your feet on the ground and your elbow
resting properly on a flat surface at the level of your heart.

STEP 5
To get accurate readings make sure you sit at rest for 2-5
minutes before taking your reading.
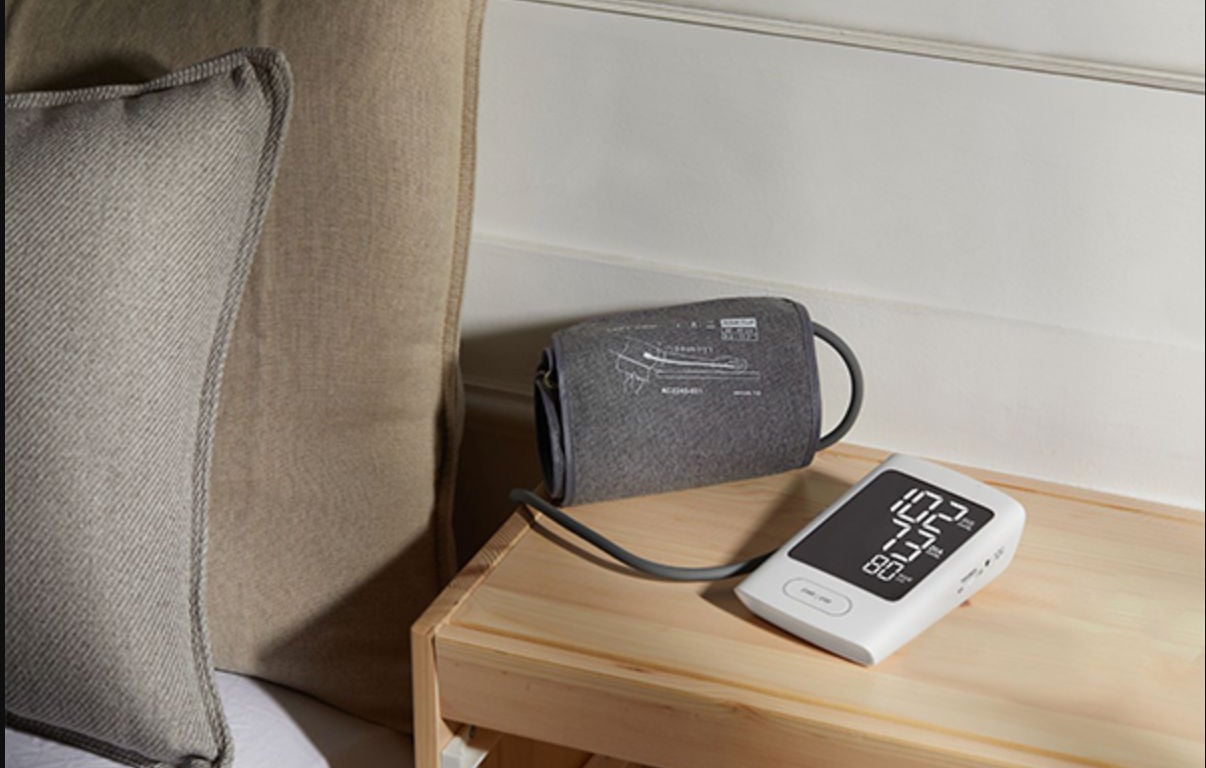
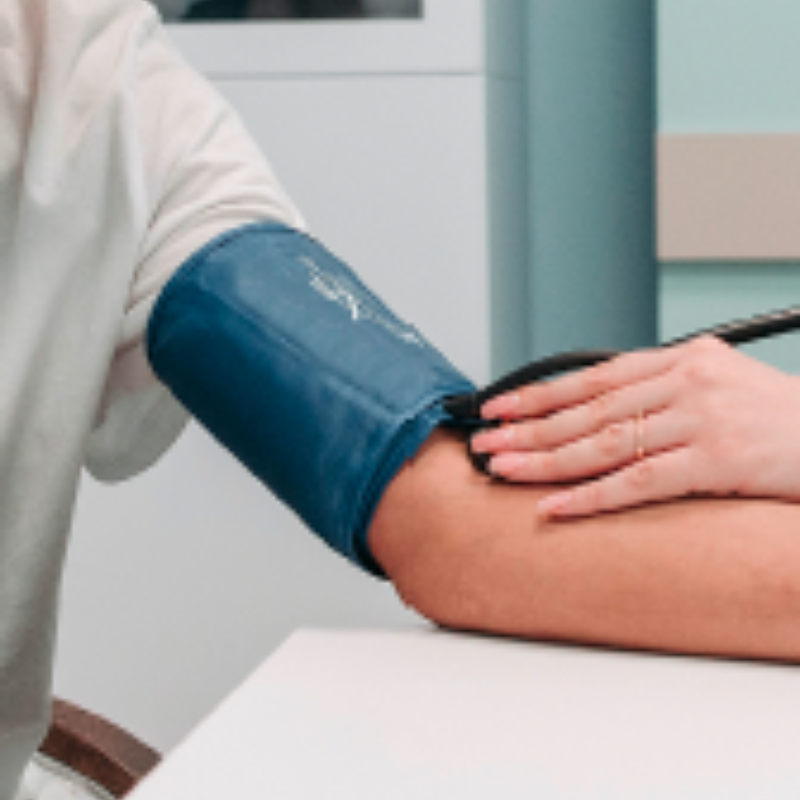
STEP 6
Place the cuff above your elbow and make sure the cuff fits snug on your
arm.
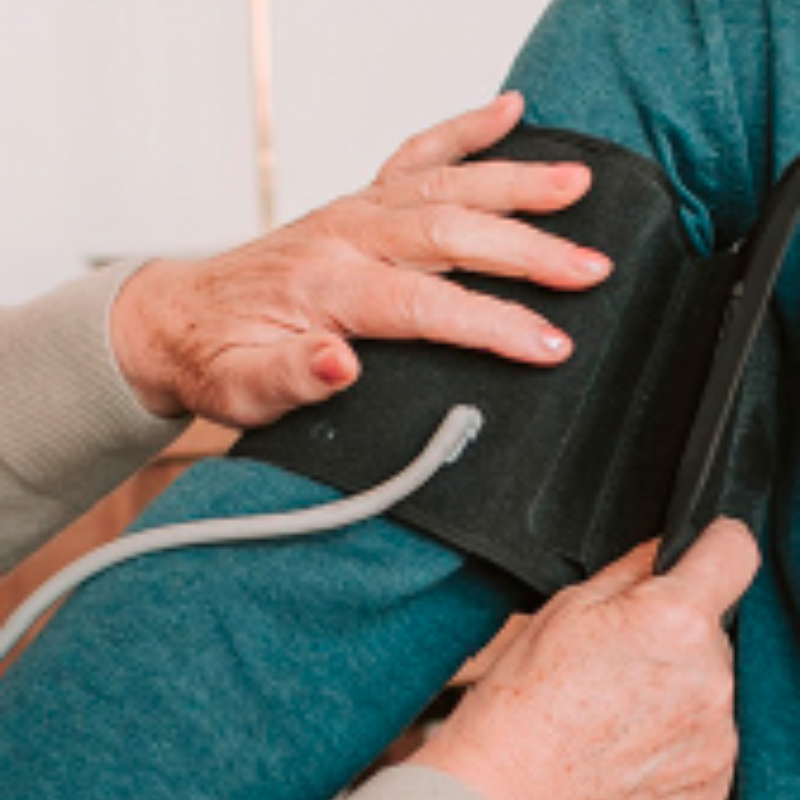
STEP 7
The tube needs to be facing your index finger and make sure the
tube in not bent.
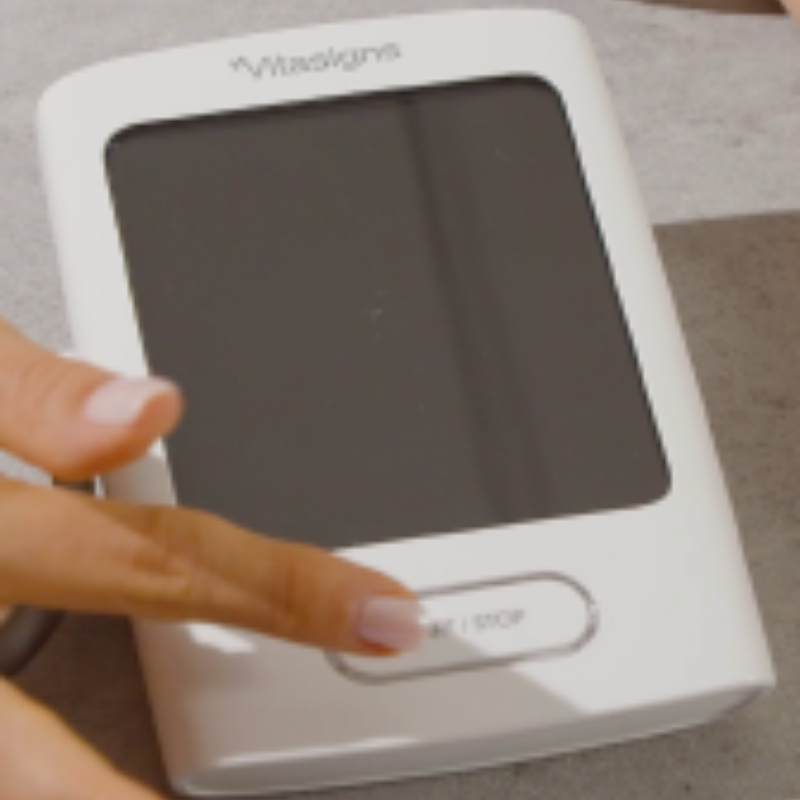
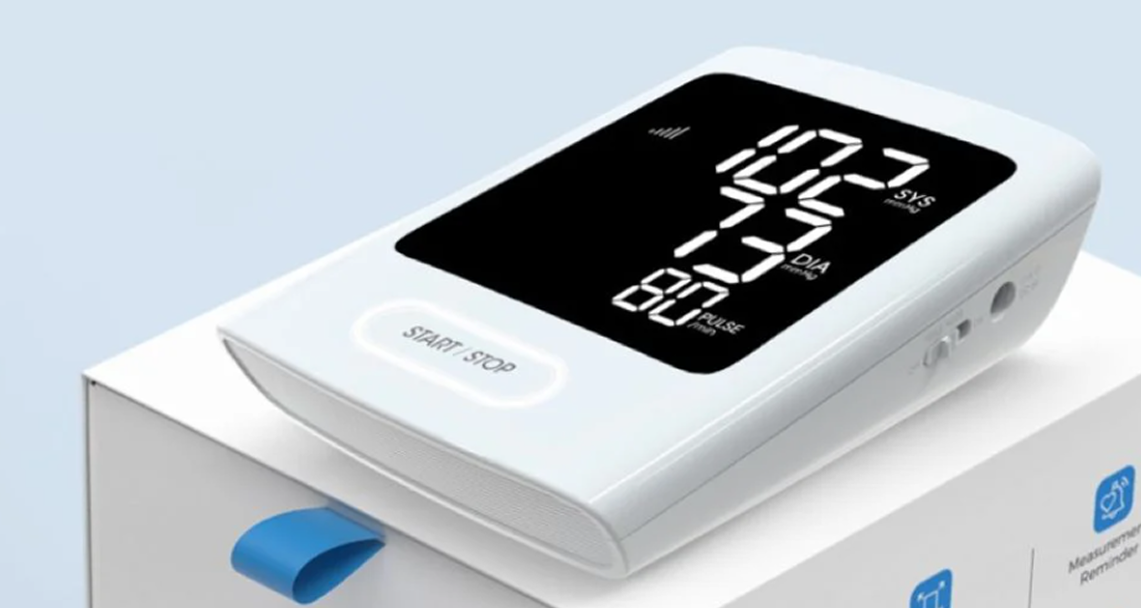
STEP 8
Now you are ready to start the device. Press start and take your
blood pressure reading.

STEP 9
Once it is finished it will transfer your numbers automatically
to your doctor.
No need to turn the device on or off! Your blood pressure monitor is designed to be simple and easy to use. After taking your reading, the screen will display "OK" once it has successfully transmitted the data. The device will then automatically shut off.