


Watch how to use your device
Pick the device you have. Each video covers setup and how to take a good reading.
This video did not load. Check your connection, or call 949-200-6840 and we will talk you through it.
Step by step
-
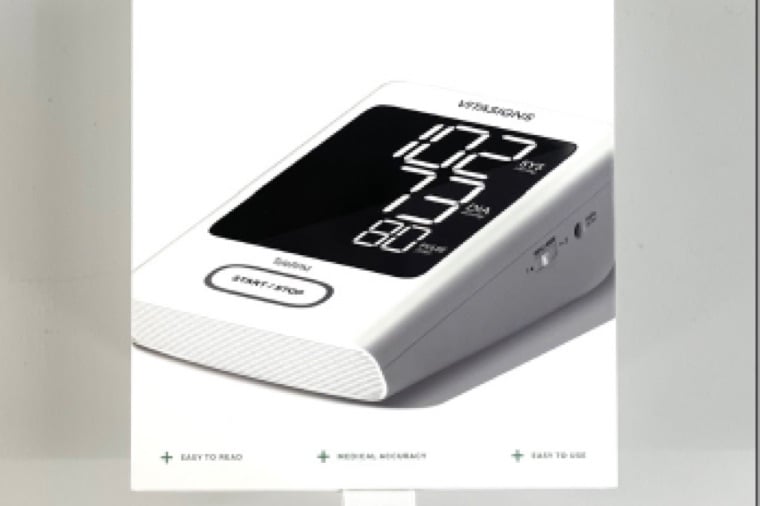
Step 1. Take the device out of the box
Unpack the monitor and the cuff. Keep the box in case you ever need to send the device back.
-
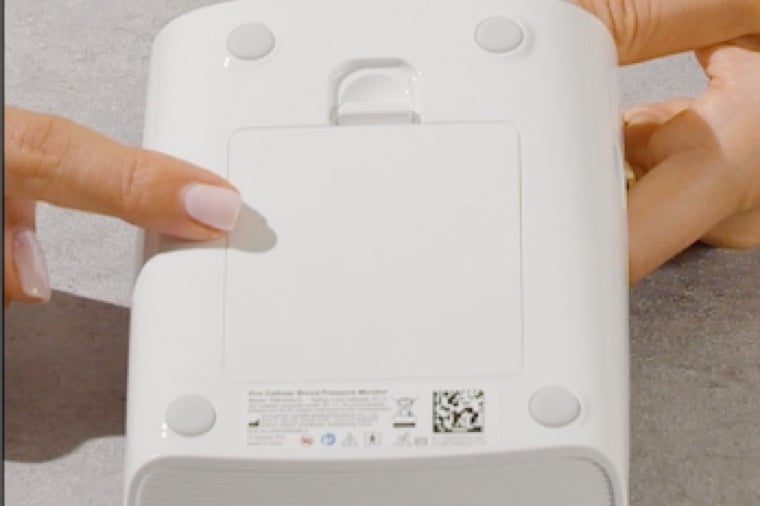
Step 2. Pull the plastic tab out of the battery compartment
It is on the bottom of the monitor. The device will not switch on until this tab is removed.
-
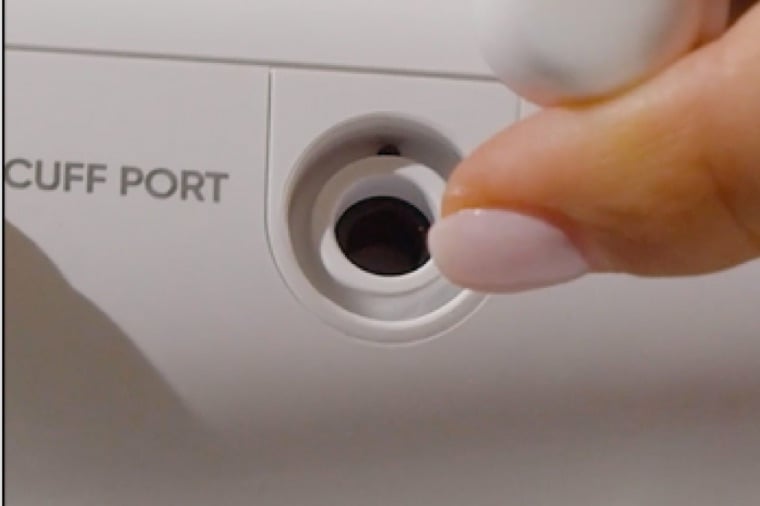
Step 3. Connect the cuff to the monitor
Push the air tube firmly into the cuff port on the side of the monitor until it seats.
-

Step 4. Sit and rest for 2 to 5 minutes first
Resting before you measure is what makes the reading accurate. Do not skip it.
-
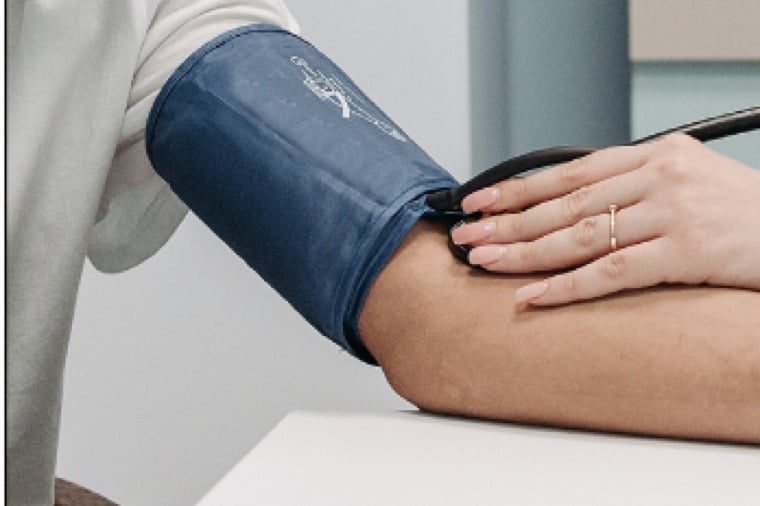
Step 5. Sit with both feet flat on the floor
Rest your arm on a table so your elbow is level with your heart.
-
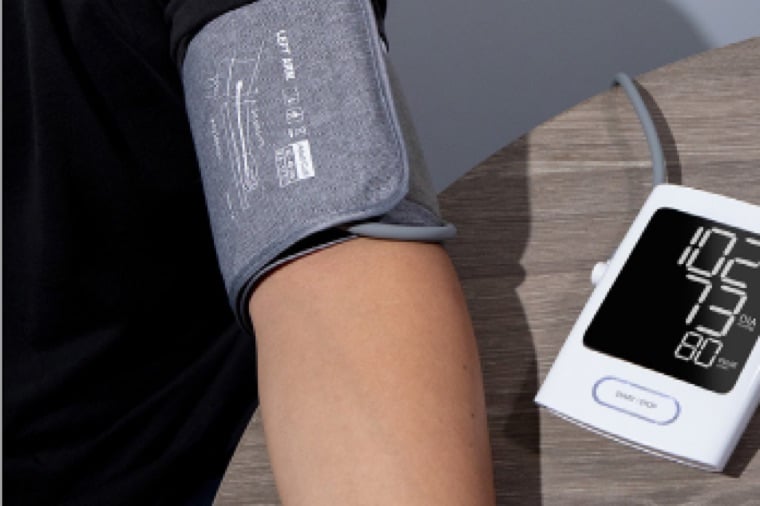
Step 6. Put the cuff on above your elbow
On a bare upper arm. The cuff should be snug, with about two fingers of room.
-
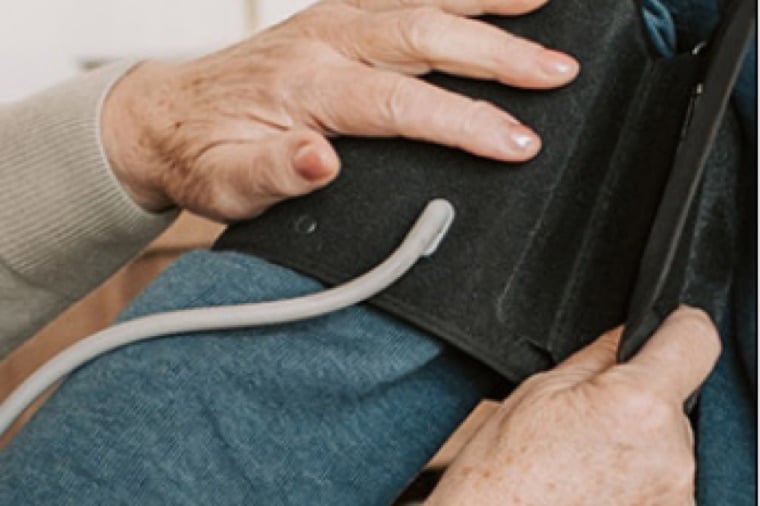
Step 7. Point the tube toward your index finger
Check the tube is not bent or twisted anywhere along its length.
-
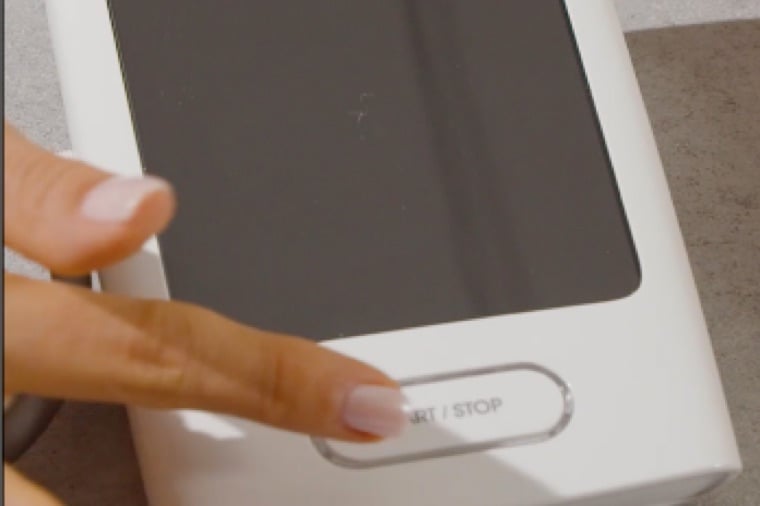
Step 8. Press START and stay still
Do not talk or move while the cuff inflates. The monitor does the rest on its own.
-
Step 9. Your reading sends on its own
When the measurement finishes, the numbers go to your provider automatically. Nothing to press, no phone needed.
Step by step
-
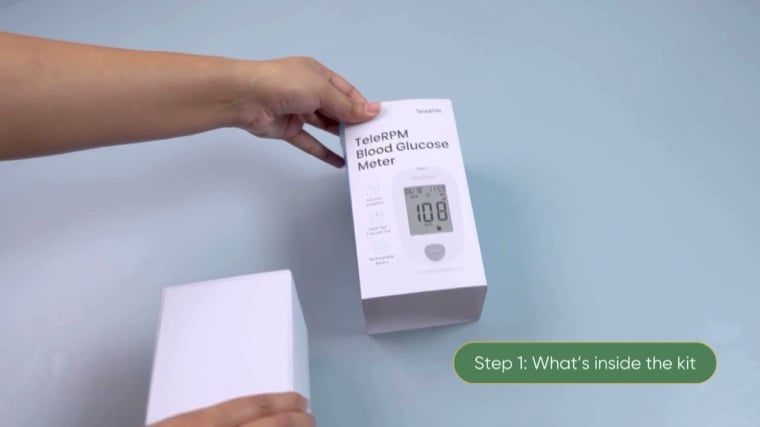
Step 1. See what is inside the kit
Meter, test strips, lancing device, lancets and the carry case.
-
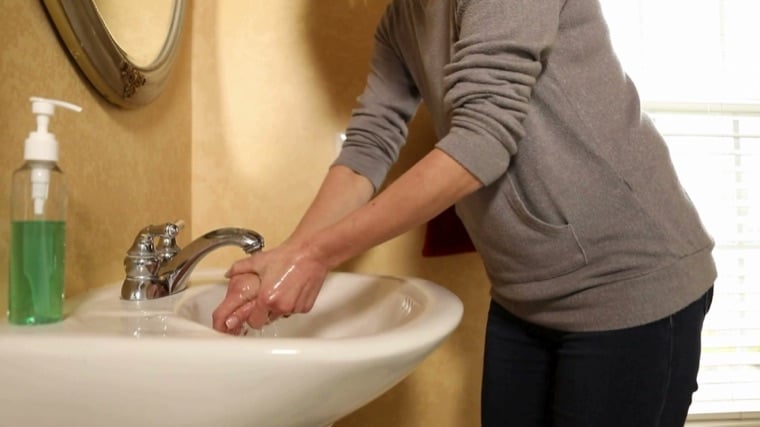
Step 2. Wash your hands and prepare for testing
Warm, clean, dry hands give a better sample and a more reliable result.
-
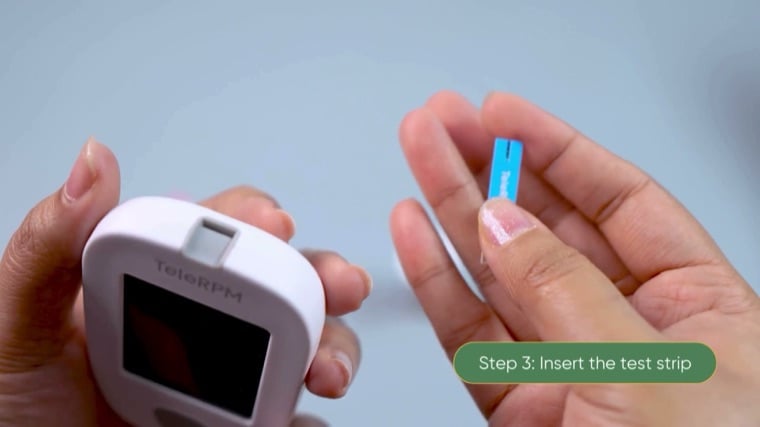
Step 3. Insert the test strip
Slide a strip into the slot until it stops. The meter switches on by itself.
-
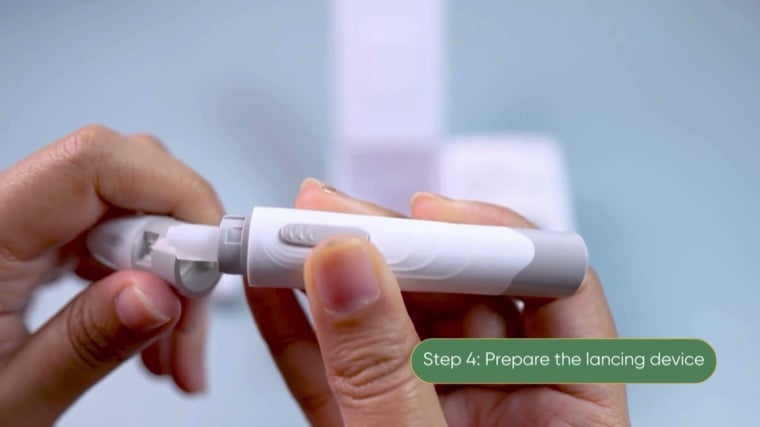
Step 4. Prepare the lancing device
Load a fresh lancet and set the depth you have been advised to use.
-
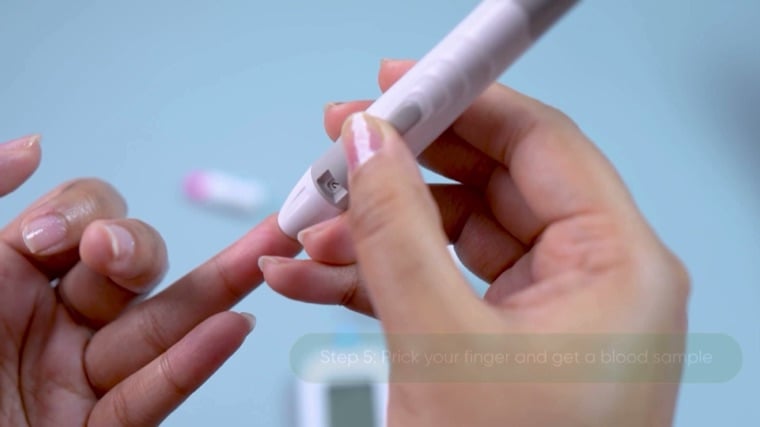
Step 5. Prick your finger and get a blood sample
Wash and dry your hands first. Use the side of a fingertip, it hurts less.
-
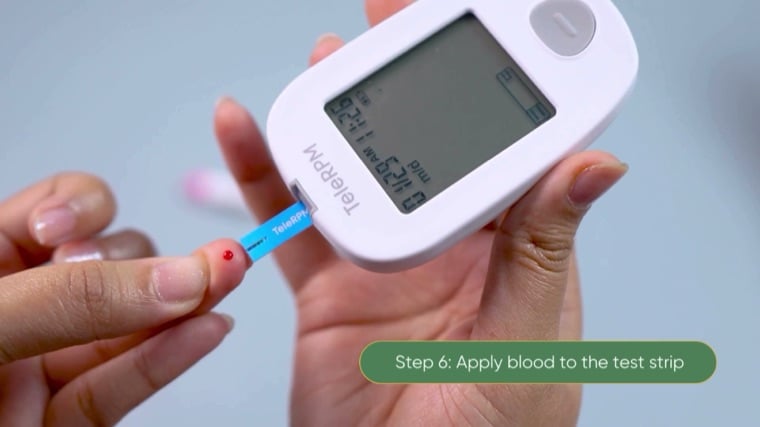
Step 6. Apply the blood to the test strip
Touch the drop to the edge of the strip and let it draw the blood in.
-
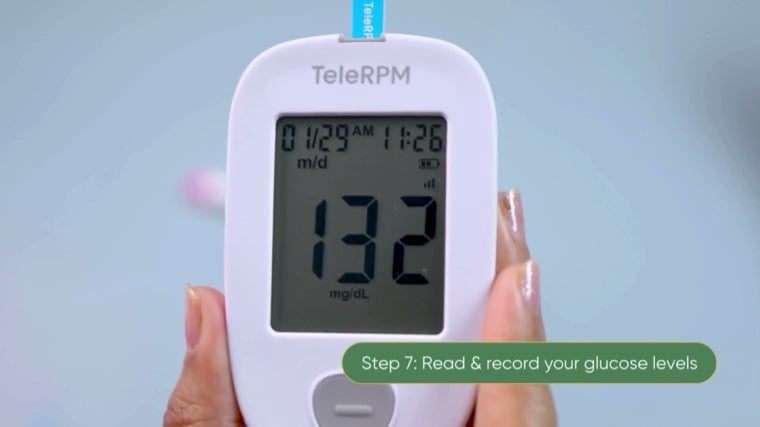
Step 7. Read and record your glucose level
The result appears in about 5 seconds.
-
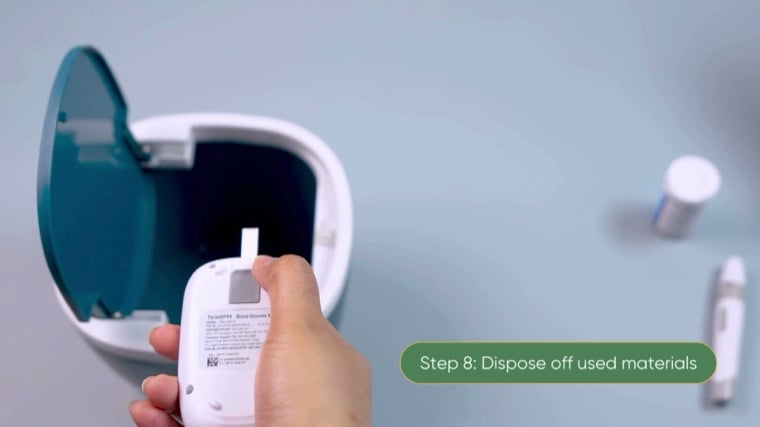
Step 8. Dispose of the used materials
Used lancets go in a sharps container, never in household rubbish.
-
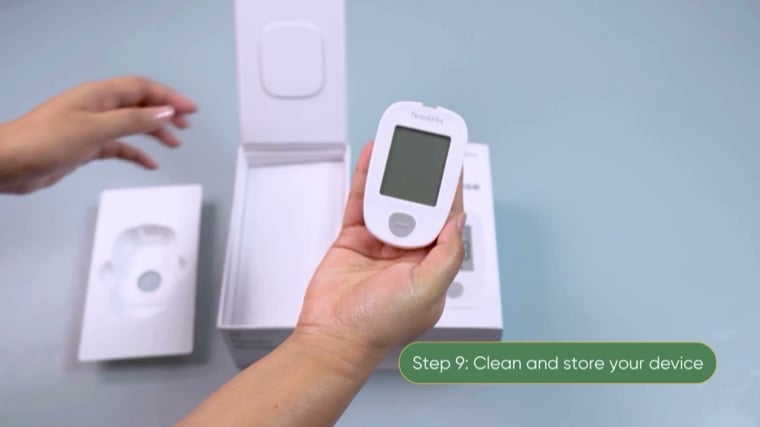
Step 9. Clean and store the device
Wipe with a dry cloth. Keep strips in their sealed pot, away from damp.
Step by step
-
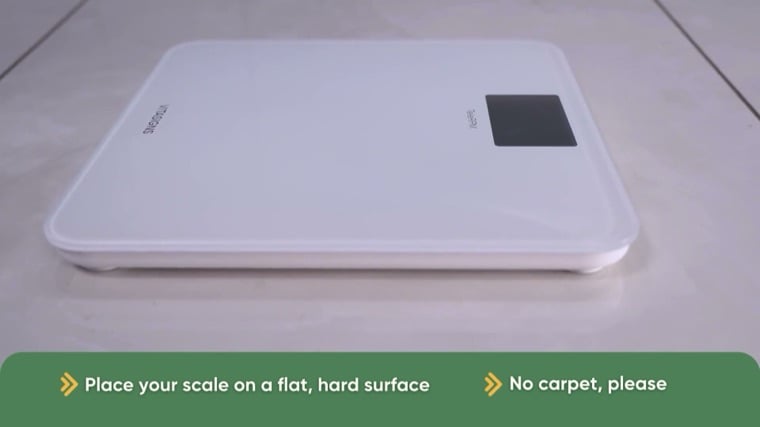
Step 1. Put the scale on a flat, hard surface
No carpet. A soft or uneven floor will change the number.
-
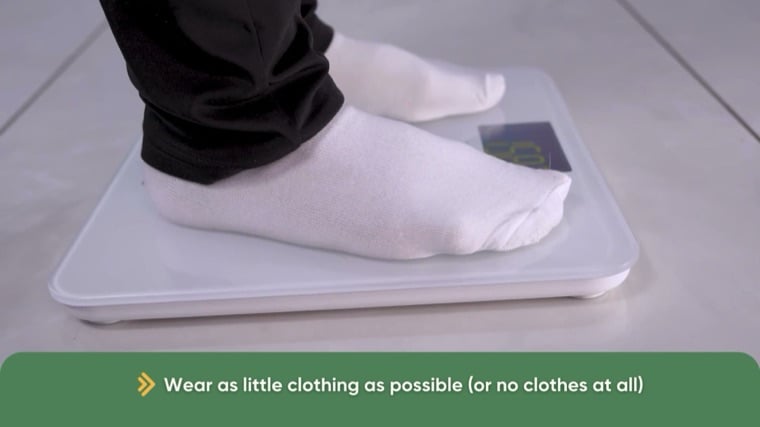
Step 2. Wear as little clothing as possible
Weigh yourself the same way each time so the readings compare properly.
-
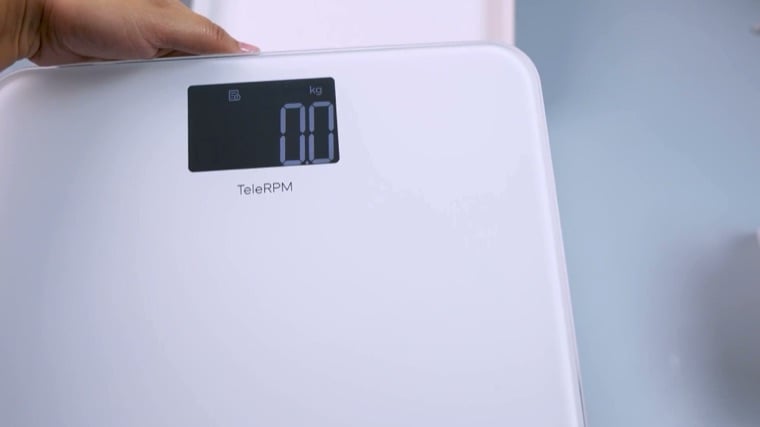
Step 3. Step on and stand still
Keep your weight even and do not bend your knees while it measures.
-
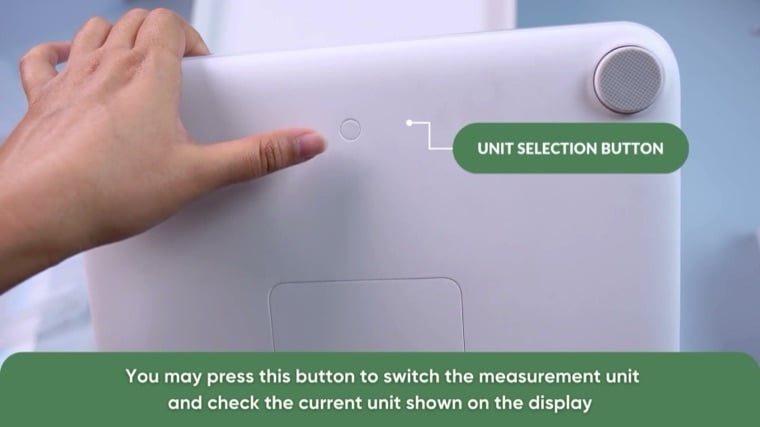
Step 4. Switch between pounds and kilograms
Press the button underneath the scale to change the unit if you need to.
-
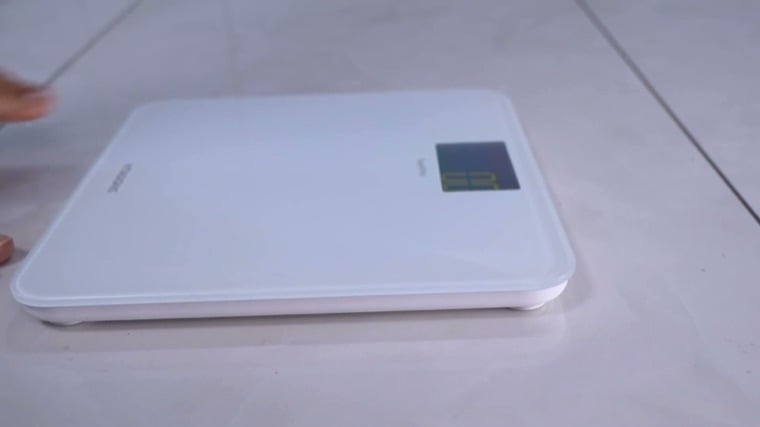
Step 5. Your weight sends on its own
The scale has its own cellular connection. No phone, no app, nothing to enter by hand.